~Photopea Photo Editing Guide~
If you need help with preparing your product photos, here's a snazzy guide for you:
STEP 1:
Either click on “Open from Computer” or drag and drop the photo you want to edit into the box.
Once the image is loaded, click on the Crop Tool (fifth icon from the top on the left side toolbar):
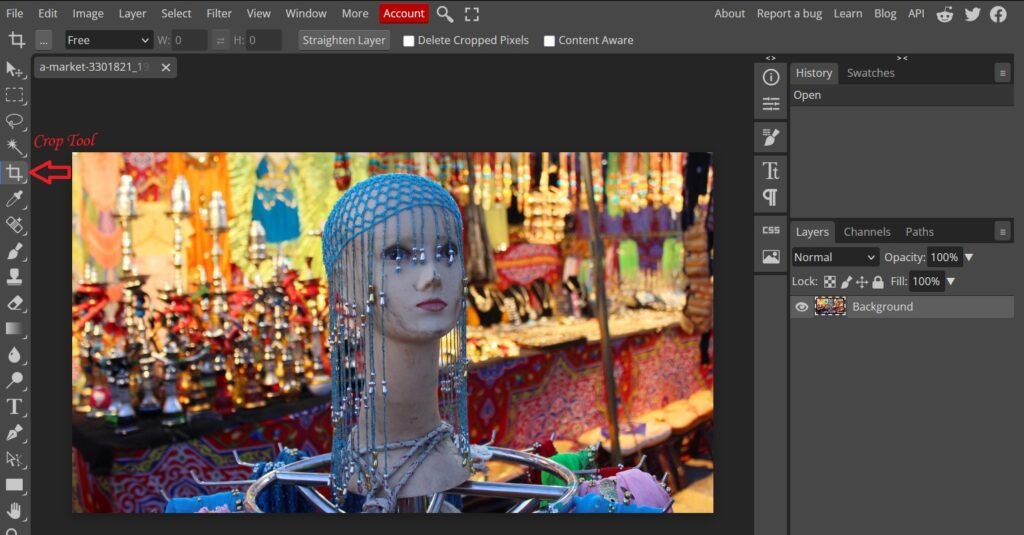
Click on the dropdown box that says “Free” and select “Fixed Size”, and enter dimensions in pixels. We recommend 1000×1000 or 1200×1200, bigger sizes may slow down your listing.
You can position the square where you want it, then click the tick mark on the top right to crop the image:

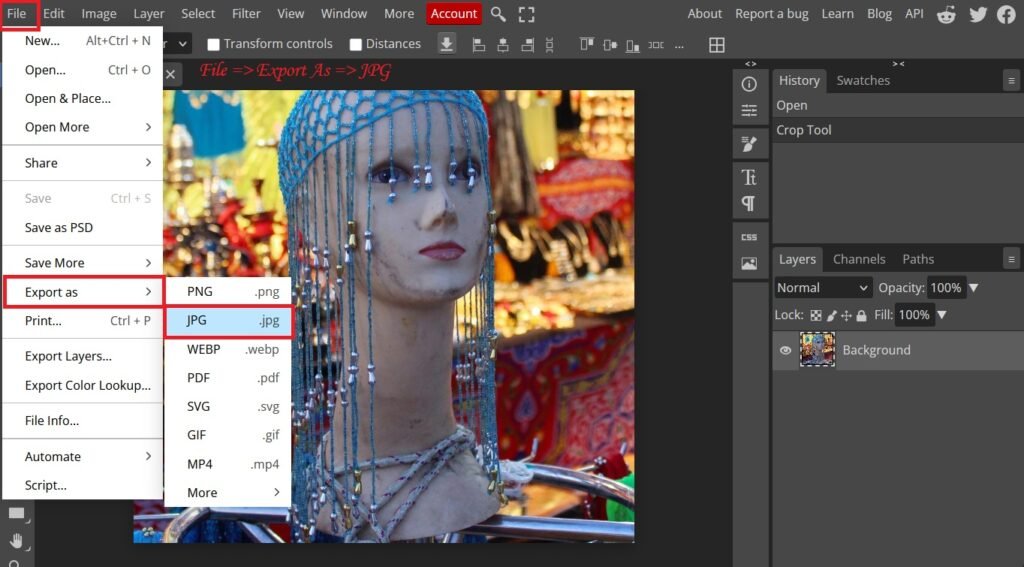
To save your cropped image, click on “File” on the top left, then “Export As”, and then click on “JPG”:
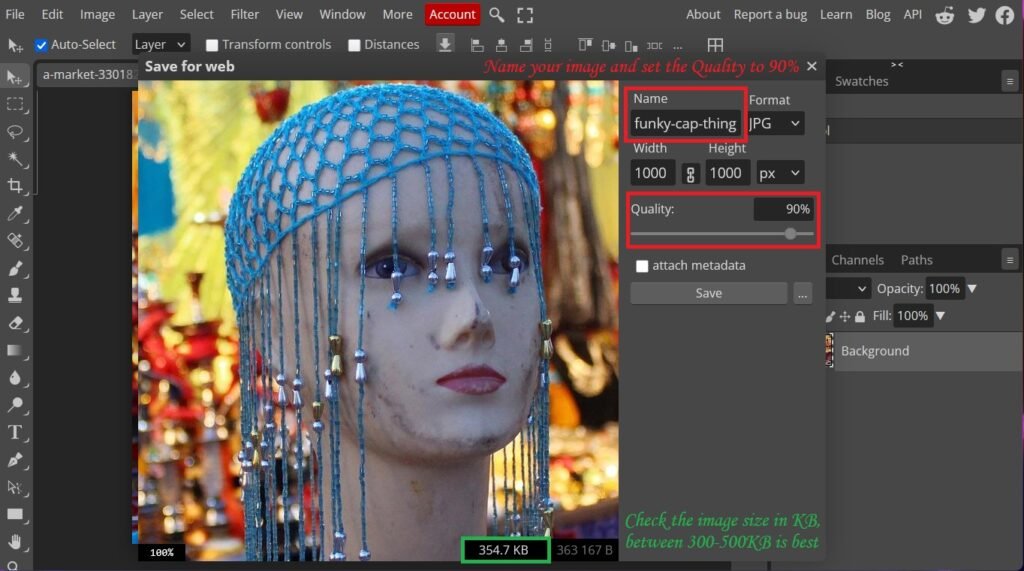
Give your image a specific name relating to the product, and set the Quality to around 90%. You can check the estimated size at the bottom, anywhere between 300 – 500KB is fine as bigger sizes will take longer to load.
Then click Save and your squared picture will be downloaded, ready for your listing:
We strongly advise to crop not only the product listing image but all images you intend to use for additional product gallery images to square in this same way for consistency.
There’s much more you can do in Photopea to snazzy up your photos, but you can explore that by yourself, or check some cool Youtube tutorials…